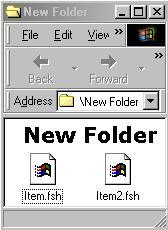
Attaching Your PatchesThere are two ways that you can attach your patches to Furcadia - you can attach them so that you can see them no matter where you go (but only you can see them), or you can attach them to your dream so that others can see them when they're in your dream. First Option: Attach the Patch to a Dream I'll now explain how you can attach a patch to your dream. This is a more fun option, as it allows you to share with other players your graphics, and allows them to hear your .wav and .mid files. Start by gathering up the files that you wish to include in your patch. Then create a new folder. It is suggested that you create this folder inside of your main Furcadia folder. In the folder you just created, put all of the files that you wish to attach to the dream.
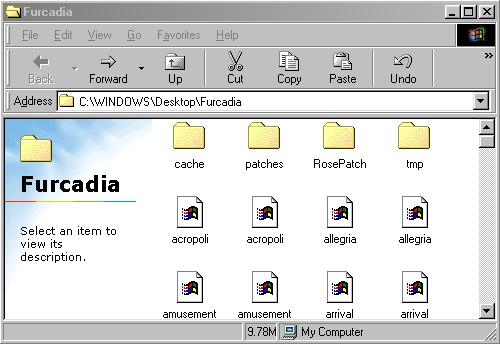
Now you have a folder that has all the files you want to attach to your dream. Your next step is to name the folder something easily identifiable, like "My Patch", and put it in a place that you'll remember. I usually put them in my Furcadia folder, just so I remember where they are. For the picture below, I renamed New Folder as RosePatch and placed it in my Furcadia folder. This makes it so the address for the patch folder is now C:\WINDOWS\Desktop\Furcadia\RosePatch\. You'll want to remember this, because you'll need it for later.
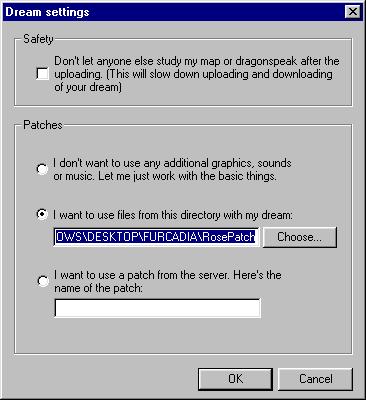
Now all you need to do is link the folder to the DreamEd.exe. DreamEd.exe is the program that you use to make dreams. Refer to the Making Your Dreams Come True section for more information about dreams. Assuming you know about dreams, all you need to do is go to the "Patches" part of the DreamEd.exe and select the "Dream Settings... Ctrl+L" option.
From here, you're almost done. All you need to do is type in the address for the folder that holds your patch. In the Dream Settings screen, you want to choose the second option offered in the Patches screen. This allows you to use files from your own directory in the dream. You can either use the Choose option to find the folder, or you can type it in yourself. Remember up there, the address of the patch folder? It was C:\WINDOWS\Desktop\Furcadia\RosePatch\. Type that in, click Okay, save the dream, and you're done. Phew!
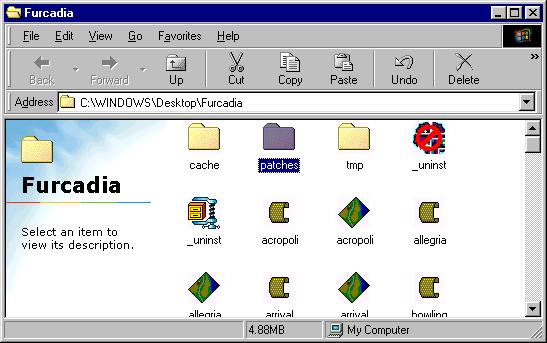
You'll know you did it right if it takes longer to upload and download your dream to the Furcadia server. It's a small price to pay for adding beautiful art to your dream. Second Option: Attach the Patch to the Furcadia Client WARNING: Attaching a patch directly to your Furcadia client will overwrite your default patch--including the Furcadia art. Please make sure you have a backup copy of your default patches before continuing! This option attaches the patch to all of Furcadia, but only you see the changes. Start by gathering up the files that you wish to include in your patch. Then need to locate the Patches folder inside your Furcadia folder. Open it up.
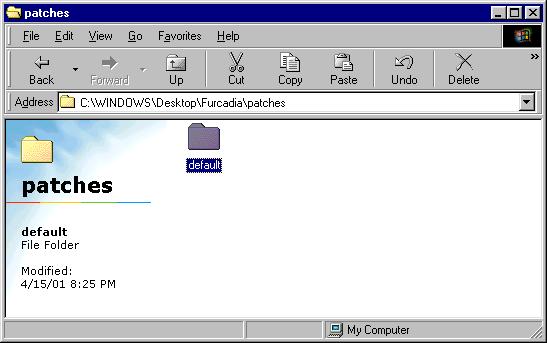
You'll be in a relatively empty folder now with another folder, named default. Open up this folder.
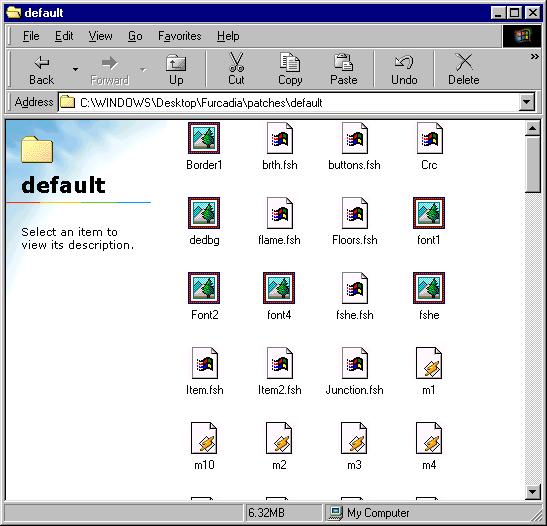
You'll now be in the folder that has all of your patch files for Furcadia. This is where you want to put your patch. Just paste them in there, or drag them in, however you want to do it. The next time you run Furcadia, you should be able to see/hear the effects of your patch.
And that's how you make Furcadia recognize your patches. If you have any further questions about patches, please make sure that the information isn't found anywhere else in these guides and then feel free to contact the Beekin Helpers.
 Beekin's Help Desk
|